Ready for this weekend's Flid Marked

It has been a long hard preparation, but it seems we are ready for tomorrow!

For those who do not know what I am talking about, tomorrow and the day after (12 and 13 of December), I will have a stand together with the CCCP at the Flid Maked. Flid is a design market that tries to promote local artists, designers and hand workers.  It runs a few times a year, and this time we are part of the Christmas edition!

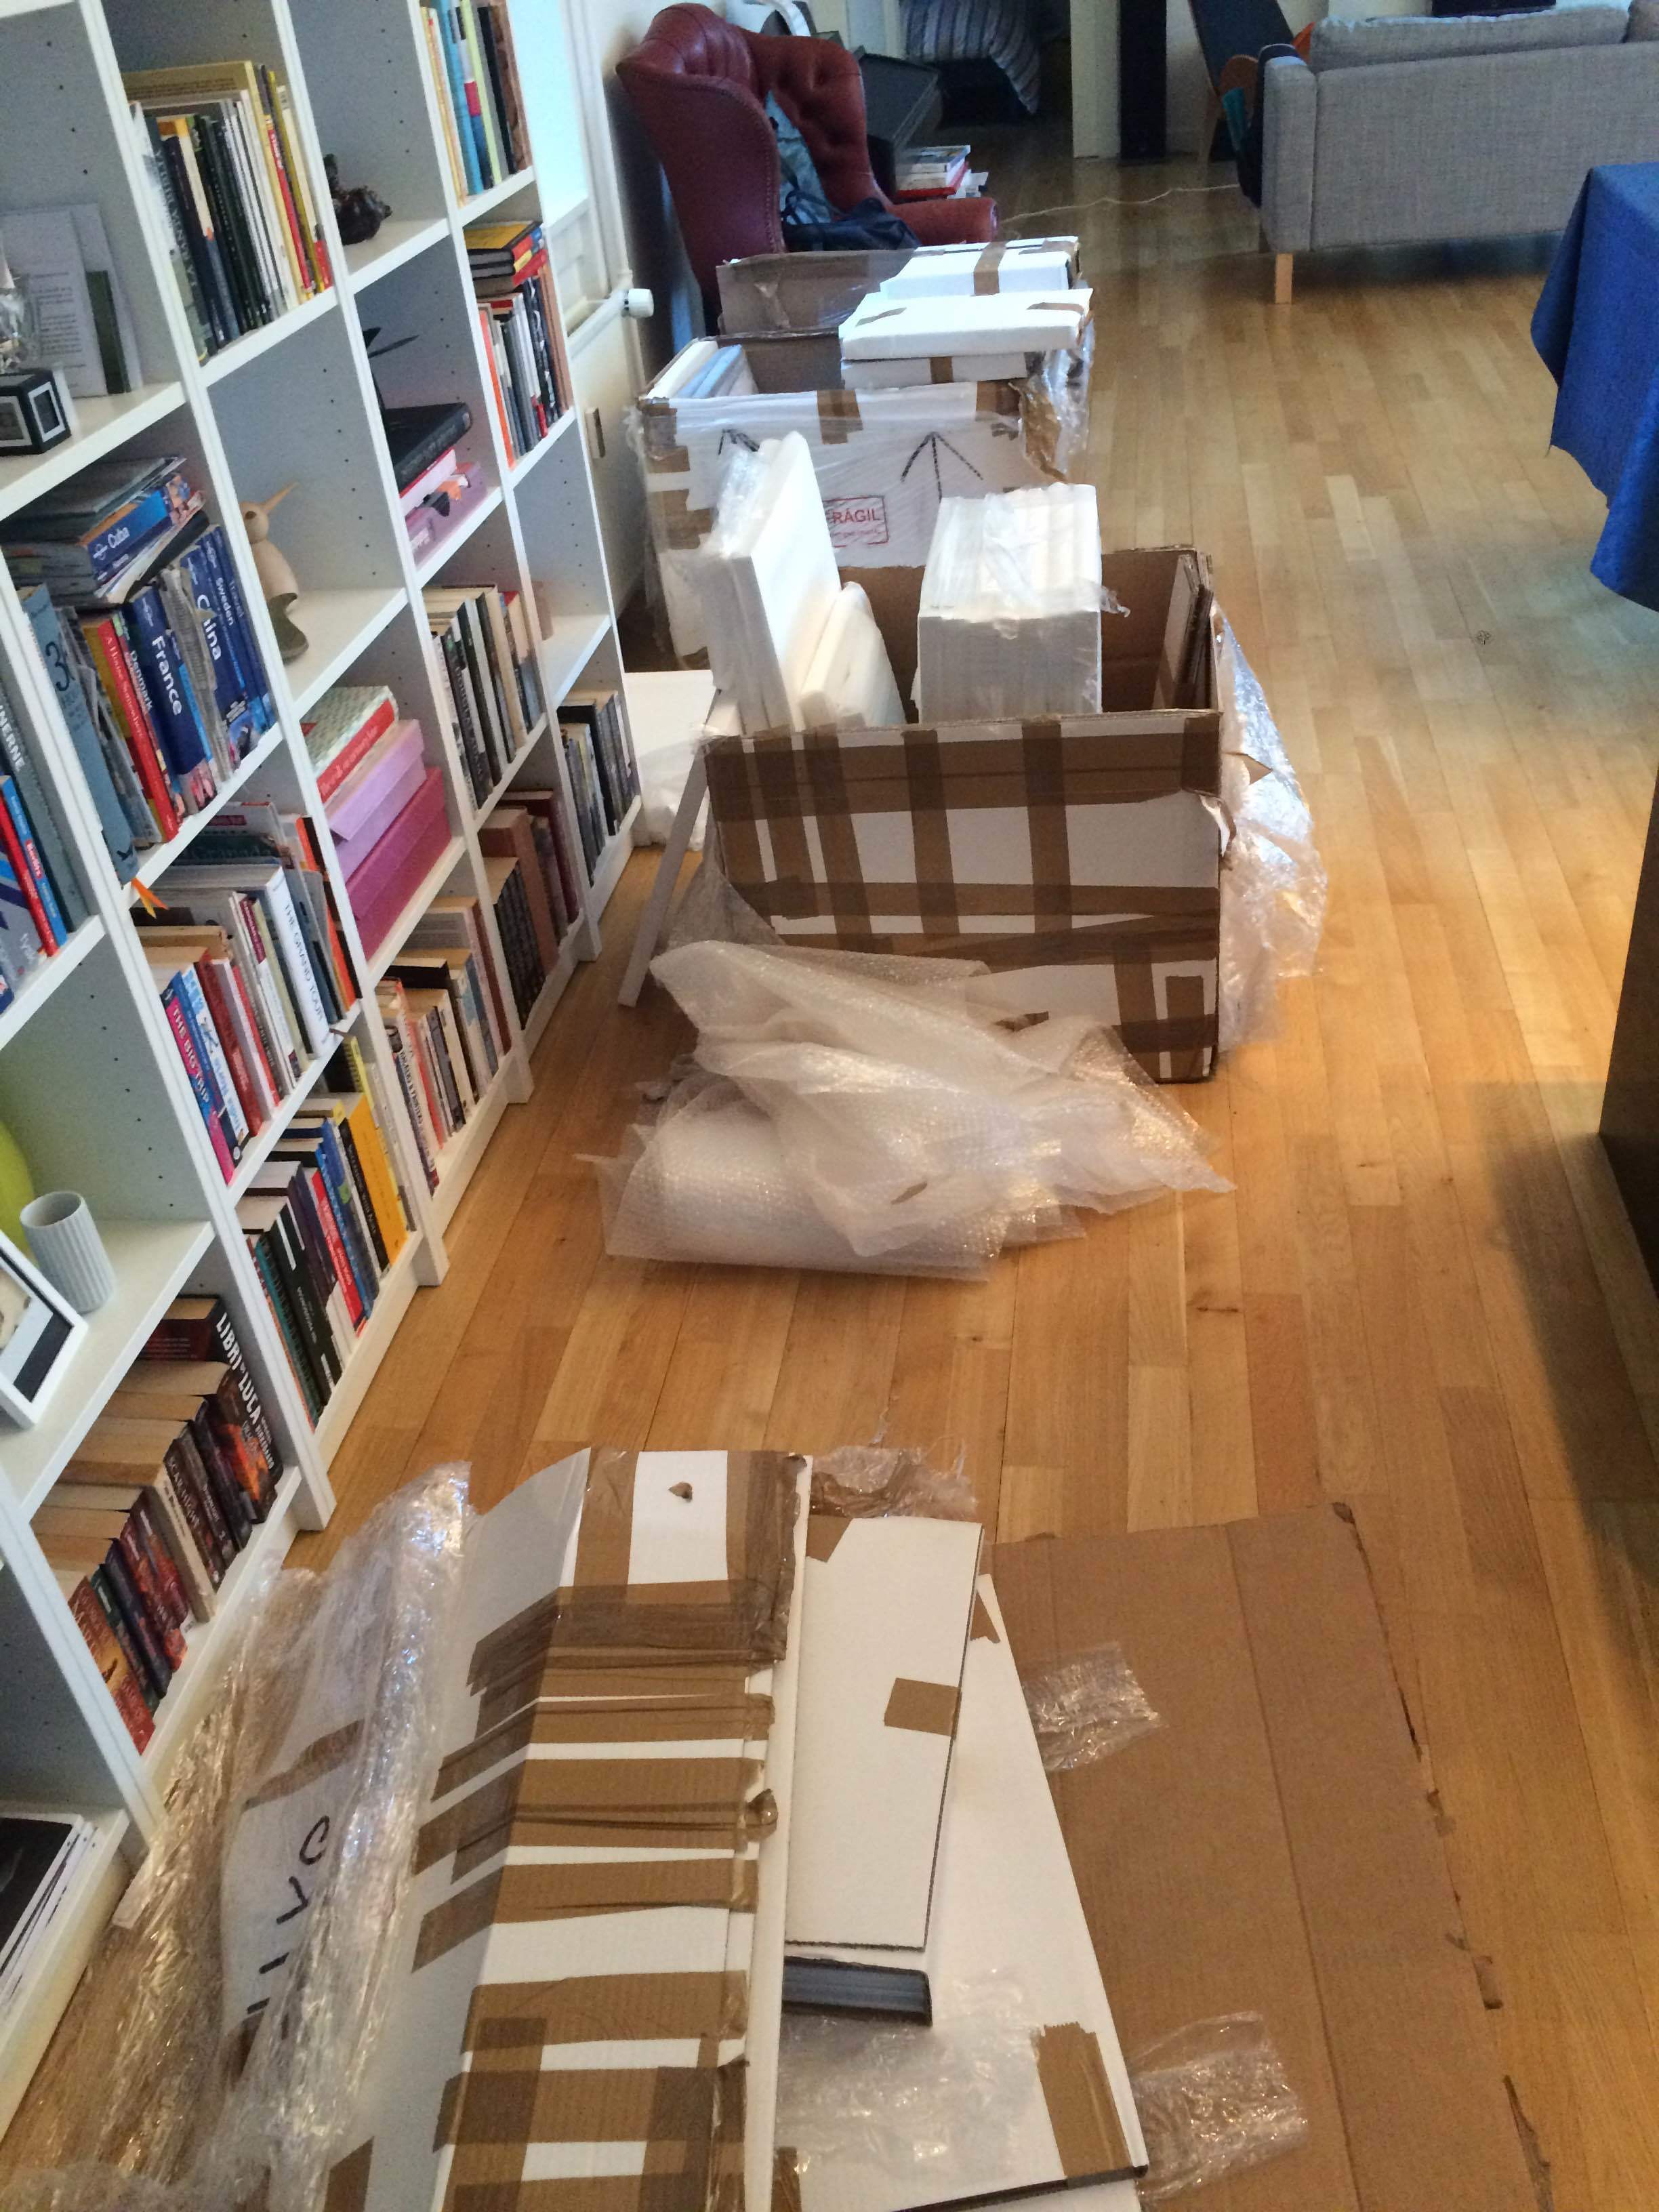
I have just finished placing my passepartouts and frames in the boxes, the last thing to finally be able to conclude: "Yeah! I made it!! We made it"

As I said, it has been a lot of hard work for all of us. We have done everything ourselves: of course taking the photos, but also editing, paper choosing, testing, printing, framing and passepartouts, and all the incredible load of logistics that comes with the organisation of an event like this, and that we had no idea about when we started.

But oh, yes! We had lots of fun, a bit of wine and tapas, and learned an amazing amount of things.

Here a glimpse of what it has been like:

Hey! If you ever try to do anything like this, feel free to write me and I can try to guide you!

Hope to see you all this weekend at Flid!

And thanks for everybody that has been supporting us from the trenches these days!! :)

Install and configure your Epson SC-P600 printer in your Mac to use in combination with Lightroom

It may be strange to start a photography blog talking about setting up a printer, but I guess any excuse is a good excuse to get started. And the truth is that setting up my new Epson SC-P600 printer has been quite some work, so I want to believe this article may help other people.

In my first attempt, I tried to follow the installation steps on the Epson installation website for Mac OS. Mixing it up with some manually downloaded drivers from Epson’s website. Who knows who’s fault it is, but it all went wrong. For instance, I could not install the right ICC profiles because it showed several printers and a few subfolders - so impossible to know which ones to choose. In my second attempt, I managed to get it right, after a few configurations back and forths.  Let me explain how I think you should make it to get it right.

Number one, read the information provided by Keith Cooper here http://www.northlight-images.co.uk/reviews/printer/epson_sc-p600.html and here http://www.northlight-images.co.uk/reviews/printer/epson_sc-p600-setup.html. It will give you a good perspective on the printer and its usage. You should also read the official user manual that comes with the printer, at least the relevant sections.

Number two, install the printer physically. For that, you can use Keith’s guide or the one that comes with the printer. These steps are not too difficult, although I got a few times a very scary error message: “Fatal error. Error code: 011A”, which I still do not know what it means. I just turned the printer off and on again and the machine came back to life. I also had a bit of trouble configuring the wifi, since it could not find the network, but after a few attempts and a few fatal errors, it was there.

Three, use the Epson Setup Navi website (at http://epson.sn) to install and configure the software. You will get all the drivers, software programs and settings that you need. You can also install some of it manually, but I would recommend to run the installation from the Setup Navi site.

This is how it looks in my applications list after the installation, although it may differ from yours:


In case you want to do a manual installation from Epson support website: http://www.epson.co.uk/gb/en/viewcon/corporatesite/products/mainunits/support/13682?searchKey=sc-p

Four, if it is not there already add the printer to Print & Fax, in System Preferences


Now, here it is where I made a very important (although honest) mistake. I want to use my printer via wifi, without cables, and I chose Bonjour/AirPrint, which are Apple generic protocols. As result, I could not launch  Epson Utility 4 program, and even more importantly, I could not chose Epson paper types in the Epson driver, for instance, when I tried to print from Lightroom.

The solution was simple. Just removed the printer using the “-“ symbol icon, and added it again, but this time using the following option: EPSON TCPIP, which uses EPSON SC-P600 Series. The result is what you see in the screenshot above. Notice that after Kind, it reads EPSON SC-P600 Series

This is the error message I got when I had the wrong protocol:

Epson Printer Utility 4 cannot be launched. Check on the following
- The product is turned on
- The product is connected to the computer correctly
- The product is loaded in the printer list box.
If the error is not fixed, Epson Printer Utility 4 is not available for your computer.

Plus the media types / paper types in the selection screen were not the ones I was supposed to get. This is how they look when it is correct:

FA828EFA-62B0-4516-9595-A6AC3BD412AA.png
 

And five, Copy the ICC profiles from Library -> Printers to: Library -> ColorSync following the article below. This way, you can use the default ICC Epson profiles (for Epson paper) in programs such Lightroom, Photoshop, etc. 

http://www.epson.co.uk/gb/en/viewcon/corporatesite/products/mainunits/faq/13682

This is it! Now you should be able to print. The installation and configuration process should be quite easy, but you can be unlucky and run into problems like me.  By the way, I also found that the Epson support chat is quite friendly and efficient, if you even need it.

I am definitely enjoying printing now. Still exploring the options, different type of paper with different type of images. This is so much fun! And an incredible pleasure to see your images printed after your own creative process, with full control over the end results. It is not easy, and for sure not cheap, but in my opinion, totally worth it!

Enjoy!